Chromium is the
open-source browser on which Google bases its Chrome browser.
Therefore, these browsers are nearly identical, and you can use
Chromium in place of Chrome. In fact, you should do so on Ubuntu 12.10. If you try to
install Chrome on a PC running Ubuntu 12.10, the installation halts
and displays "The package is of bad quality" as shown in
Figure 1 below.
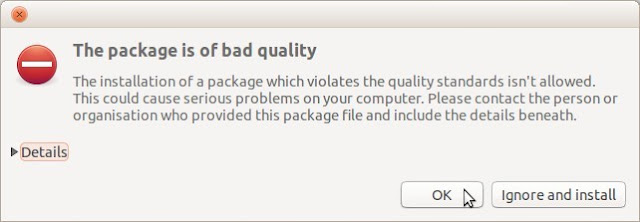 |
Figure 1 - A warning against
installing Google Chrome on Ubuntu 12.10. You should instead install Chromium.
|
This document
explains how to remove Google Chrome (if installed), install Chromium, and then
configure it.
Removing Google
Chrome
In case you have installed Google Chrome on Ubuntu 12.10, you should remove it and then install Chromium according to the next section. To remove (uninstall) Google Chrome, do the following:
In case you have installed Google Chrome on Ubuntu 12.10, you should remove it and then install Chromium according to the next section. To remove (uninstall) Google Chrome, do the following:
- Open a terminal, type sudo apt-get install synaptic, type your password and then wait for Synaptic to install.
- Type sudo synaptic to display the Synaptic Package Manager window.
- Type google-chrome into the Quick filter search field.
- Right-click google-chrome-stable, click Mark for Complete Removal, click Apply to display a Summary window and then click Apply.
- Close both the Synaptic Package Manager window and the terminal.
Installing
Chromium
To install Chromium on Ubuntu 12.10, do the following:
To install Chromium on Ubuntu 12.10, do the following:
- As shown in Figure 2 below; in the Unity launcher, click the Ubuntu Software Center icon to display its window.
- As shown in Figure 3 below, type chromium into the search field, select Chromium Web Browser and then click Install.
- Type your password and then click Authenticate to start the installation.
- After Chromium installs, close the Ubuntu Software Center.
- Configure Chromium according to the next section.
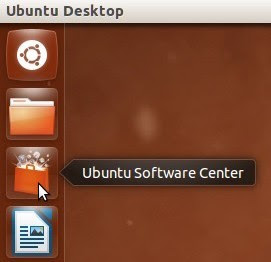 |
Figure 2 - Opening the Ubuntu
Software Center.
|
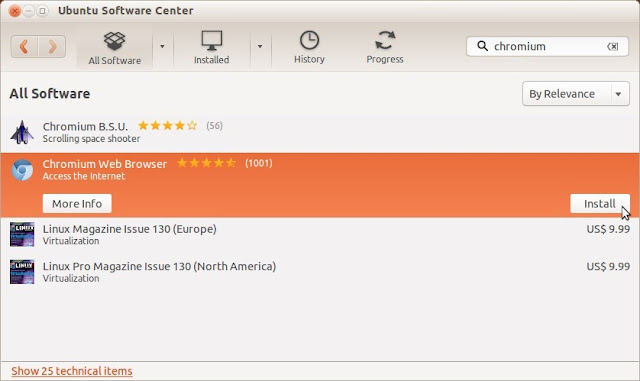 |
Figure 3 - Installing
the Chromium Web Browser.
|
Configuring
Chromium
To configure Chromium on Ubuntu 12.10, do the following:
To configure Chromium on Ubuntu 12.10, do the following:
- Click Dash Home (at top of the launcher) and then click Chromium Web Browser as shown in Figure 4 below.
- Minimize the Chromium window; in the Unity launcher, right-click the Chromium icon; and then click Lock to Launcher as shown in Figure 5 below.
- Maximize the Chromium window, click sign in (at the upper right) to display the Sign in to Chromium window as shown in Figure 6 below.
- Type your email address, and then click either Sign in or Create a Google Account. If you already have a Google account, Chromium can synchronize your bookmarks, history, and settings.
- Click the three bars at the upper right, and then click Settings to display its window.
- Select Open a specific page or set of pages, click Set pages, select https//www.google.com/ and then click OK.
- As shown in Figure 7 below, scroll to Default browser, click Make Chromium my default browser and then close the Settings - Chromium window.
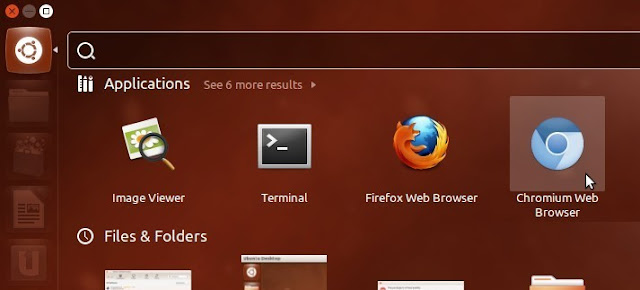 |
Figure 4 - Opening
Chromium through Dash.
|
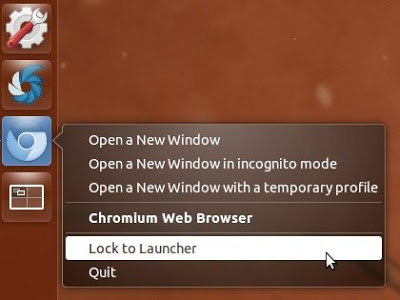 |
Figure 5 - Locking
the Chromium icon to the Unity launcher.
|
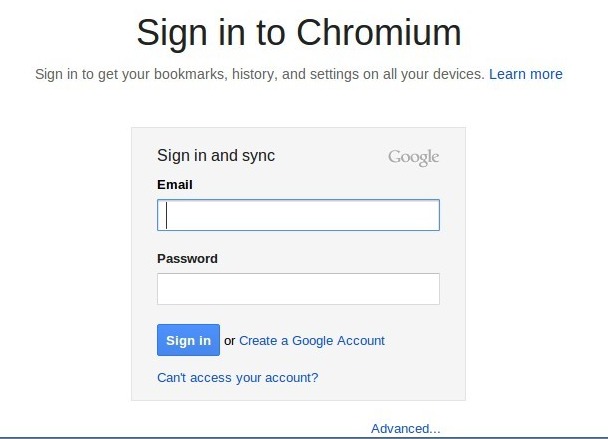 |
Figure 6 - Signing
into Chromium, and syncing to your Google account.
|
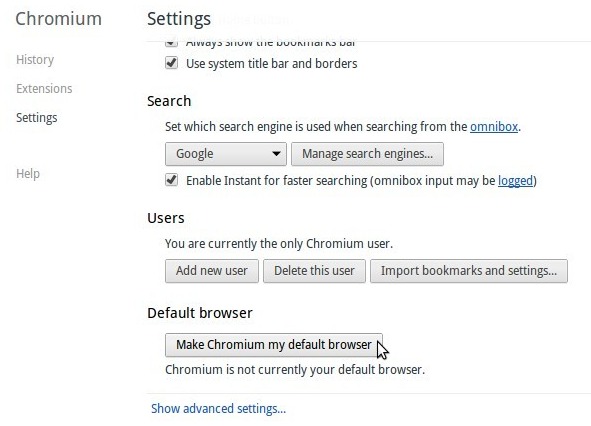 |
Figure 7 - Making
Chromium your default browser.
|
No comments :
Post a Comment